
Martin Saposnic
What is a Reverse Proxy?
A reverse proxy is a type of server that sits in front of other servers, acting as a gateway for client requests. It can process these requests, perform specific logic, and interact with external services before sending the response back to the client.
Switching to AWS for Cloudfront Management
To use Cloudfront for managing reverse proxies, you must switch your domain name to AWS. For guidance on this process, refer to this instructional video: AWS Route 53 Basics Video.
⚠️
Remember, DNS changes may take up to 48 hours to fully propagate!
Prerequisites
Before starting, ensure that you meet the following requirements:
- Your
domain name is managed using AWS Route 53.
- You want to set up a
reverse proxy to utilize subfolders and subdirectories on your domain hosted
by The.com.
Here's what you'll need:
- An Amazon AWS Account with your domain connected.
- Access to Hosted Zone, ACM (certificate manager), and Cloudfront features in AWS.
In this tutorial, we will demonstrate creating a reverse proxy to display the Blog Post template page when a user navigates to the /t/ subfolder.
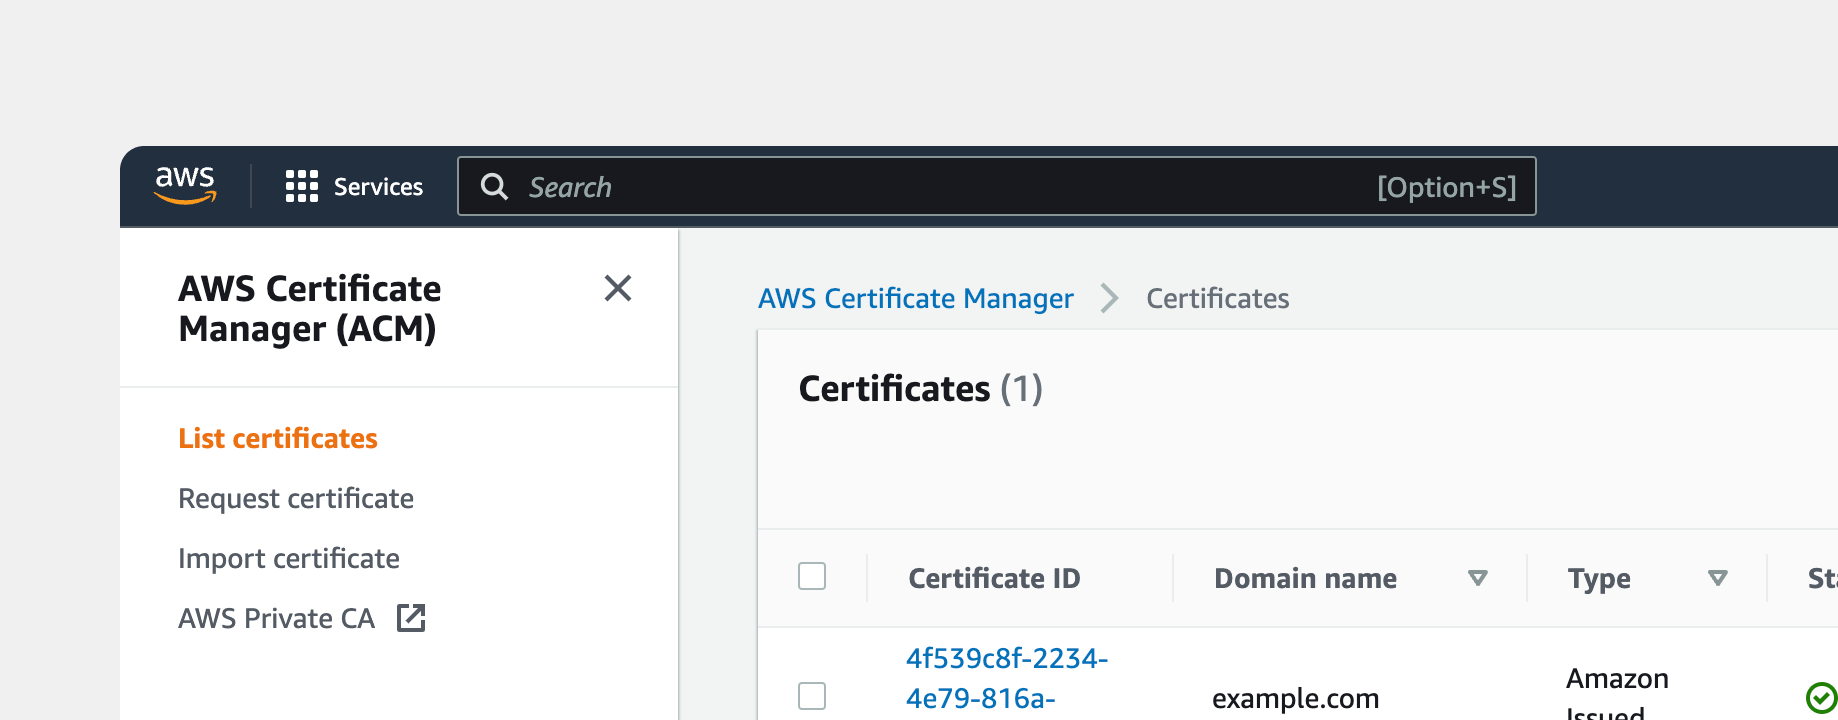
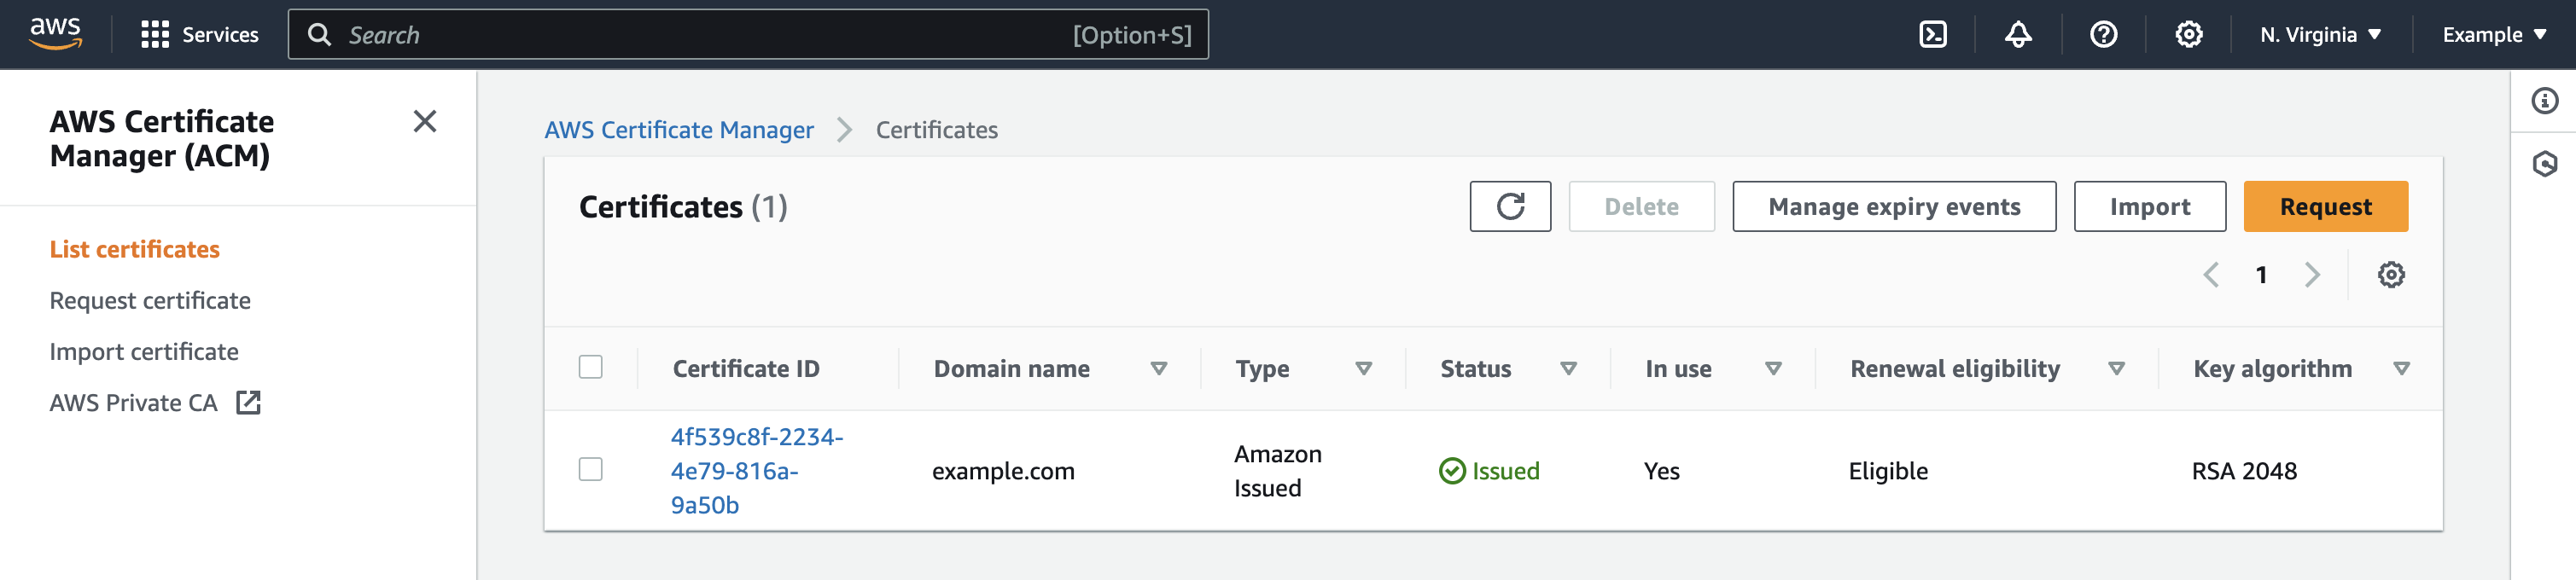
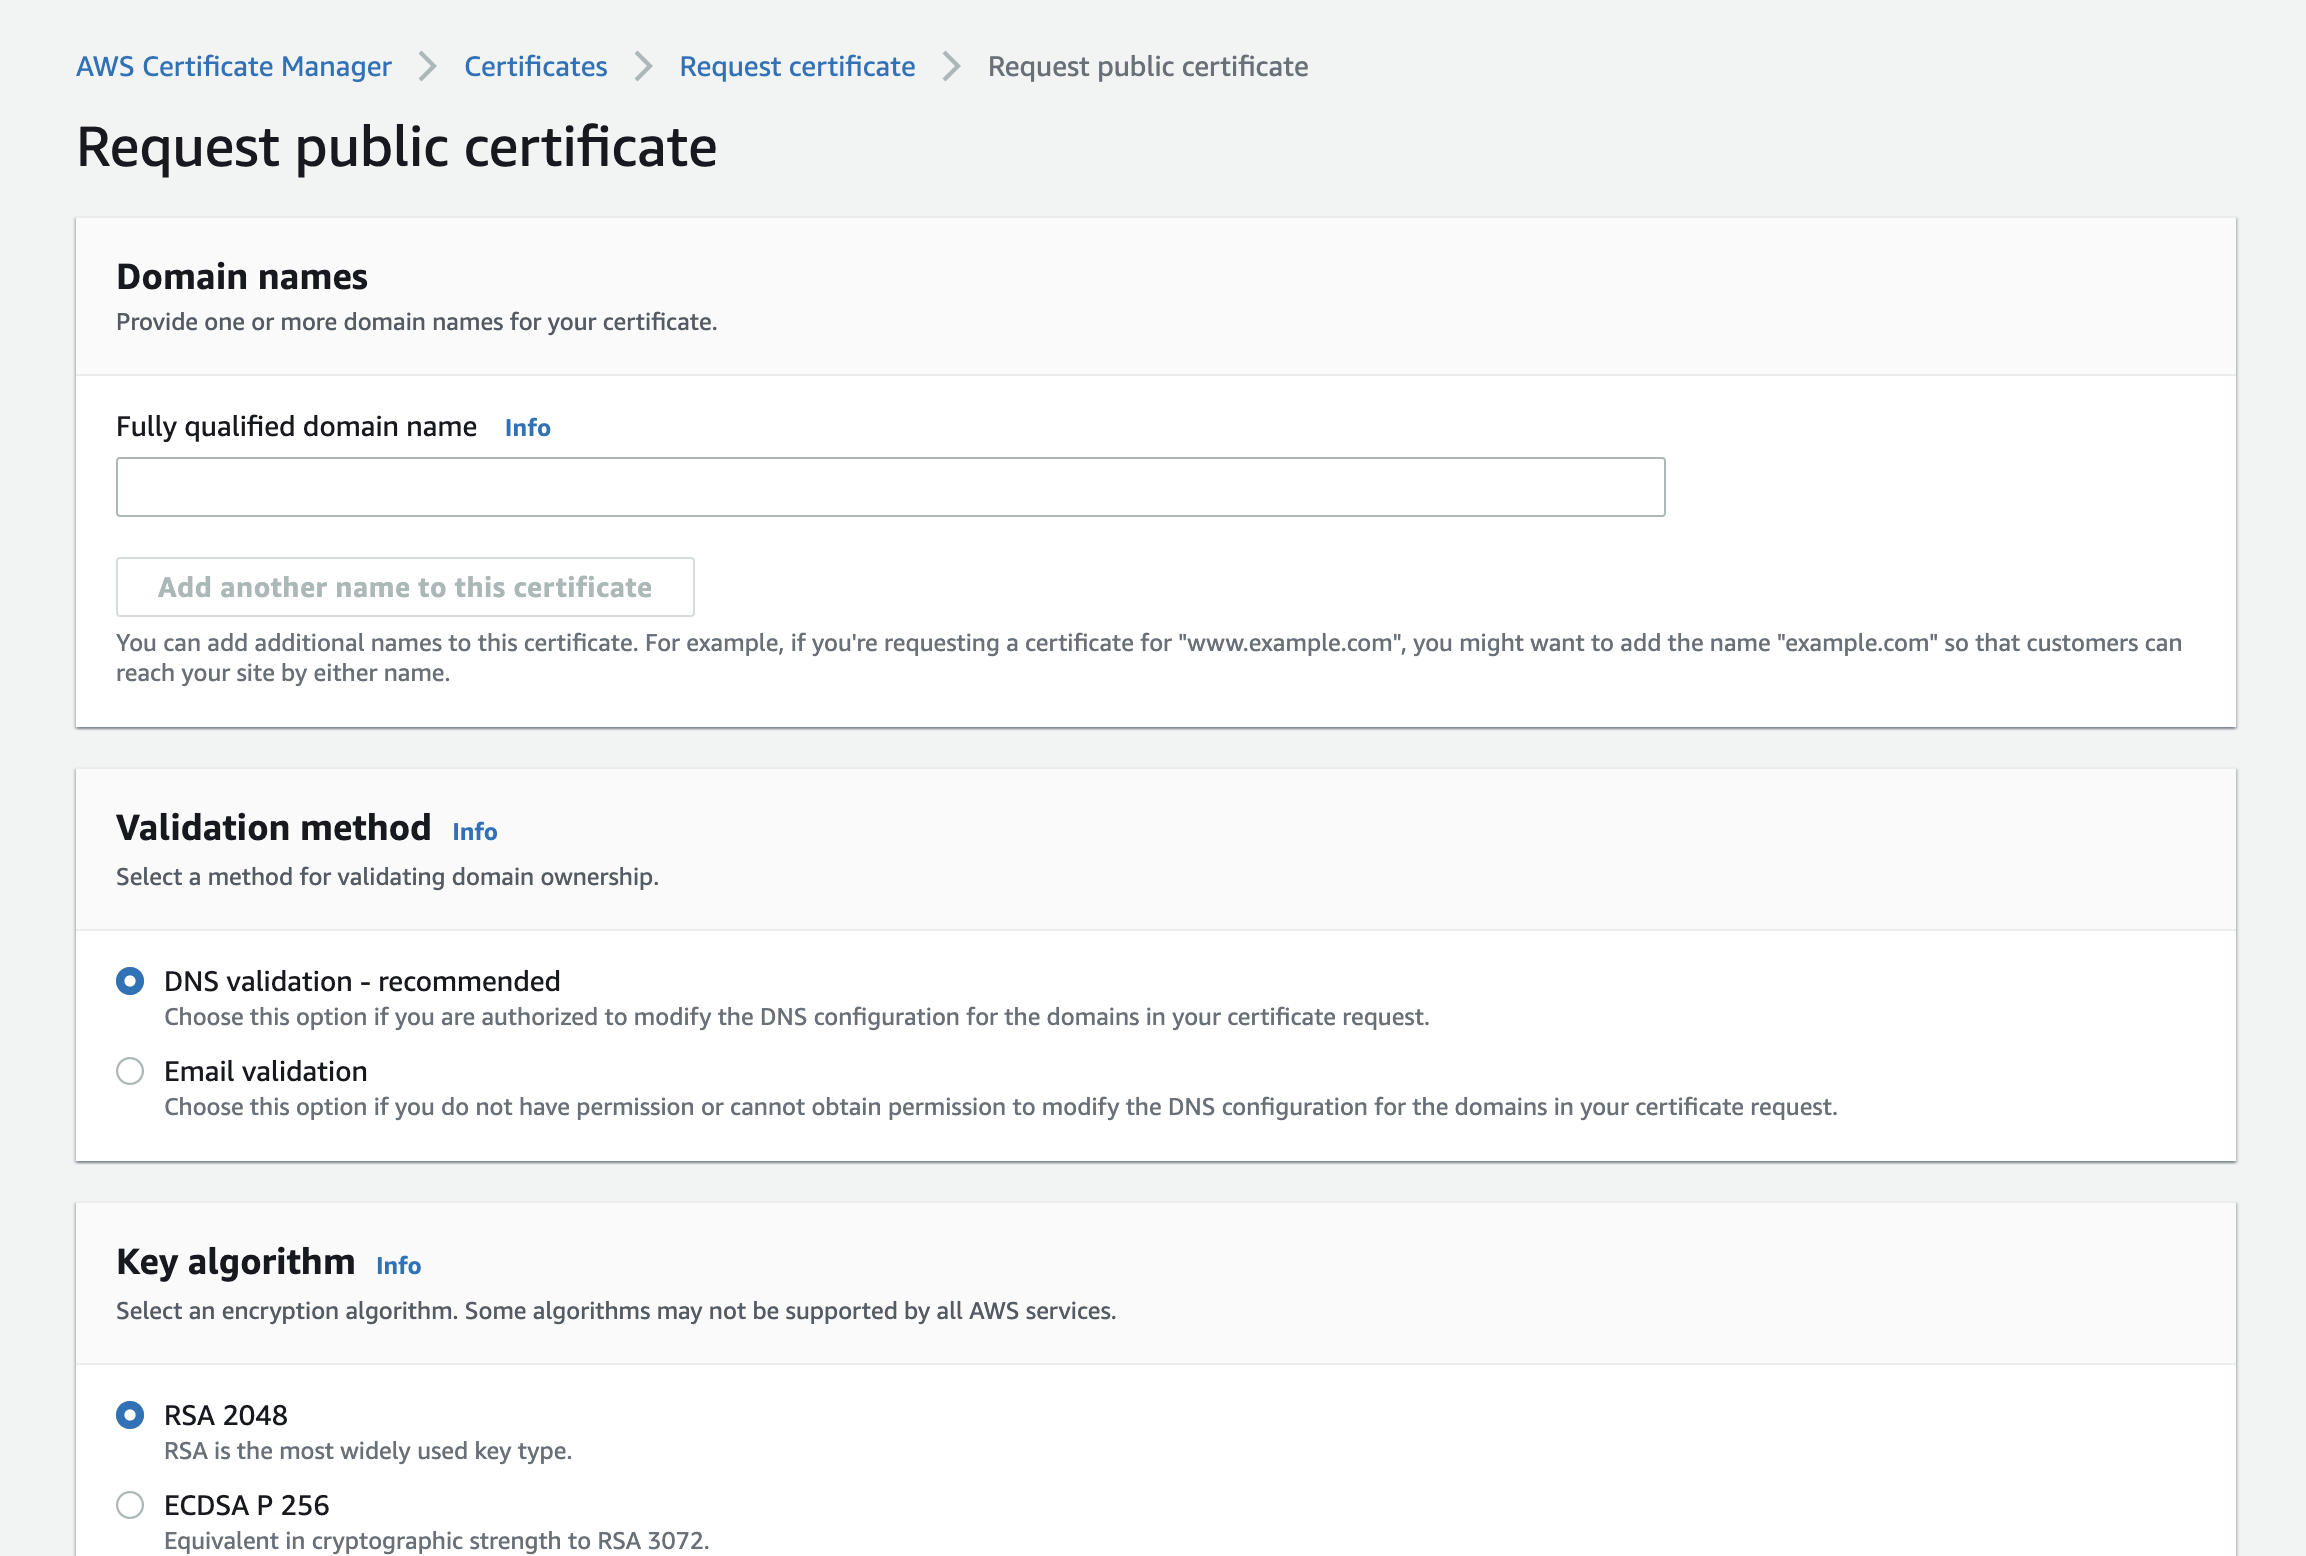
Create a New Cloudfront Certificate
Go to the ACM in AWS, click on 'Request a new certificate,' select 'Request a public certificate,' and add your domain's Fully Qualified Domain Name (FQDN). Use this link to request.
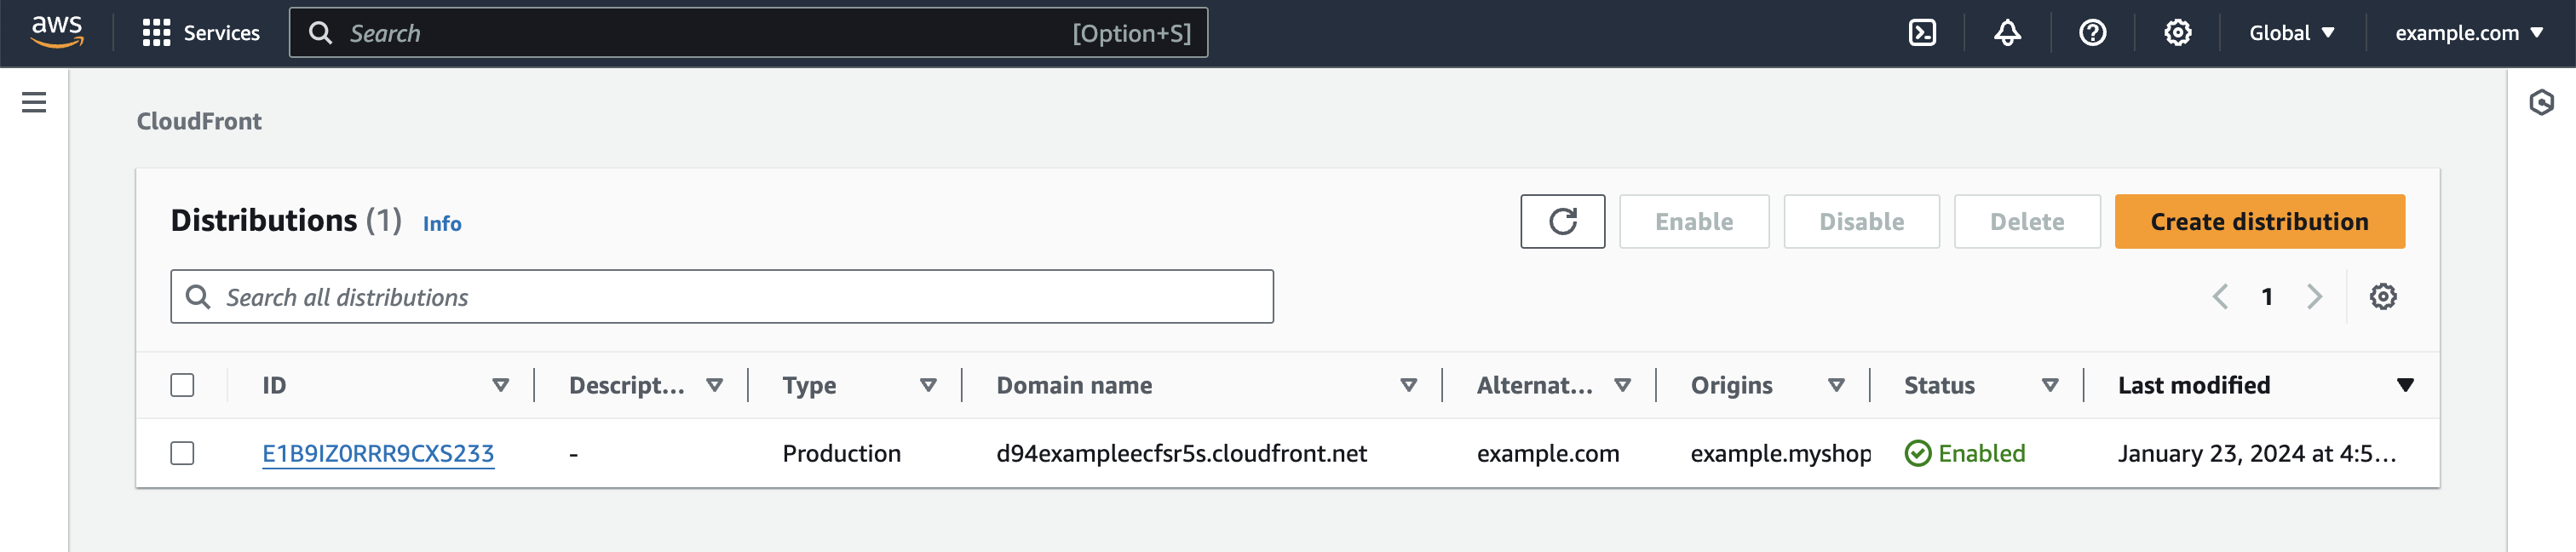
Create a New Cloudfront Distribution
Navigate to Cloudfront, click 'Create Distribution,' and enter your root/apex domain as the origin domain. Start creating your distribution here.
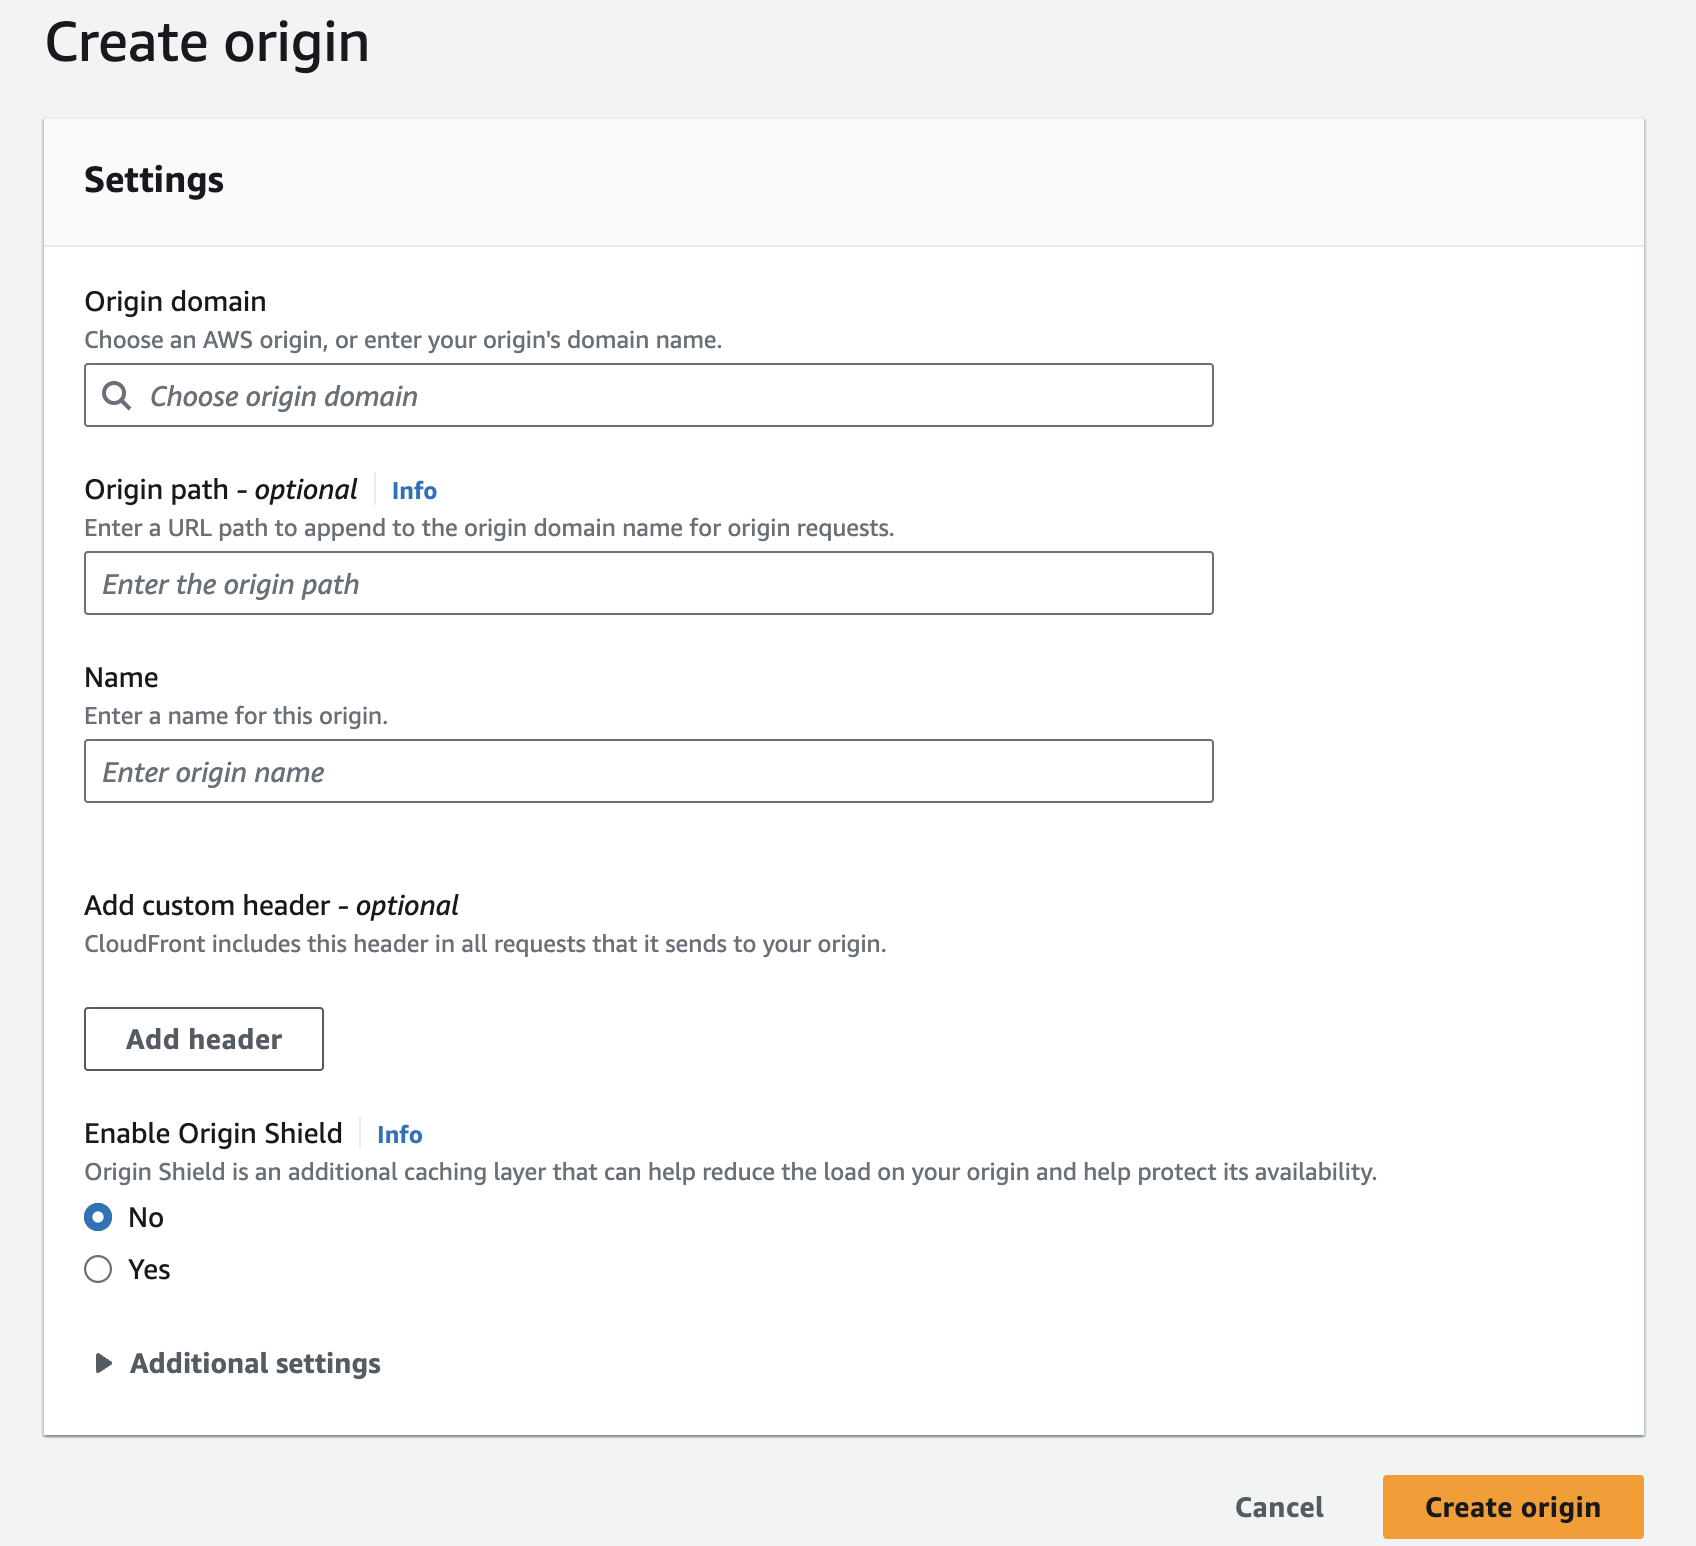
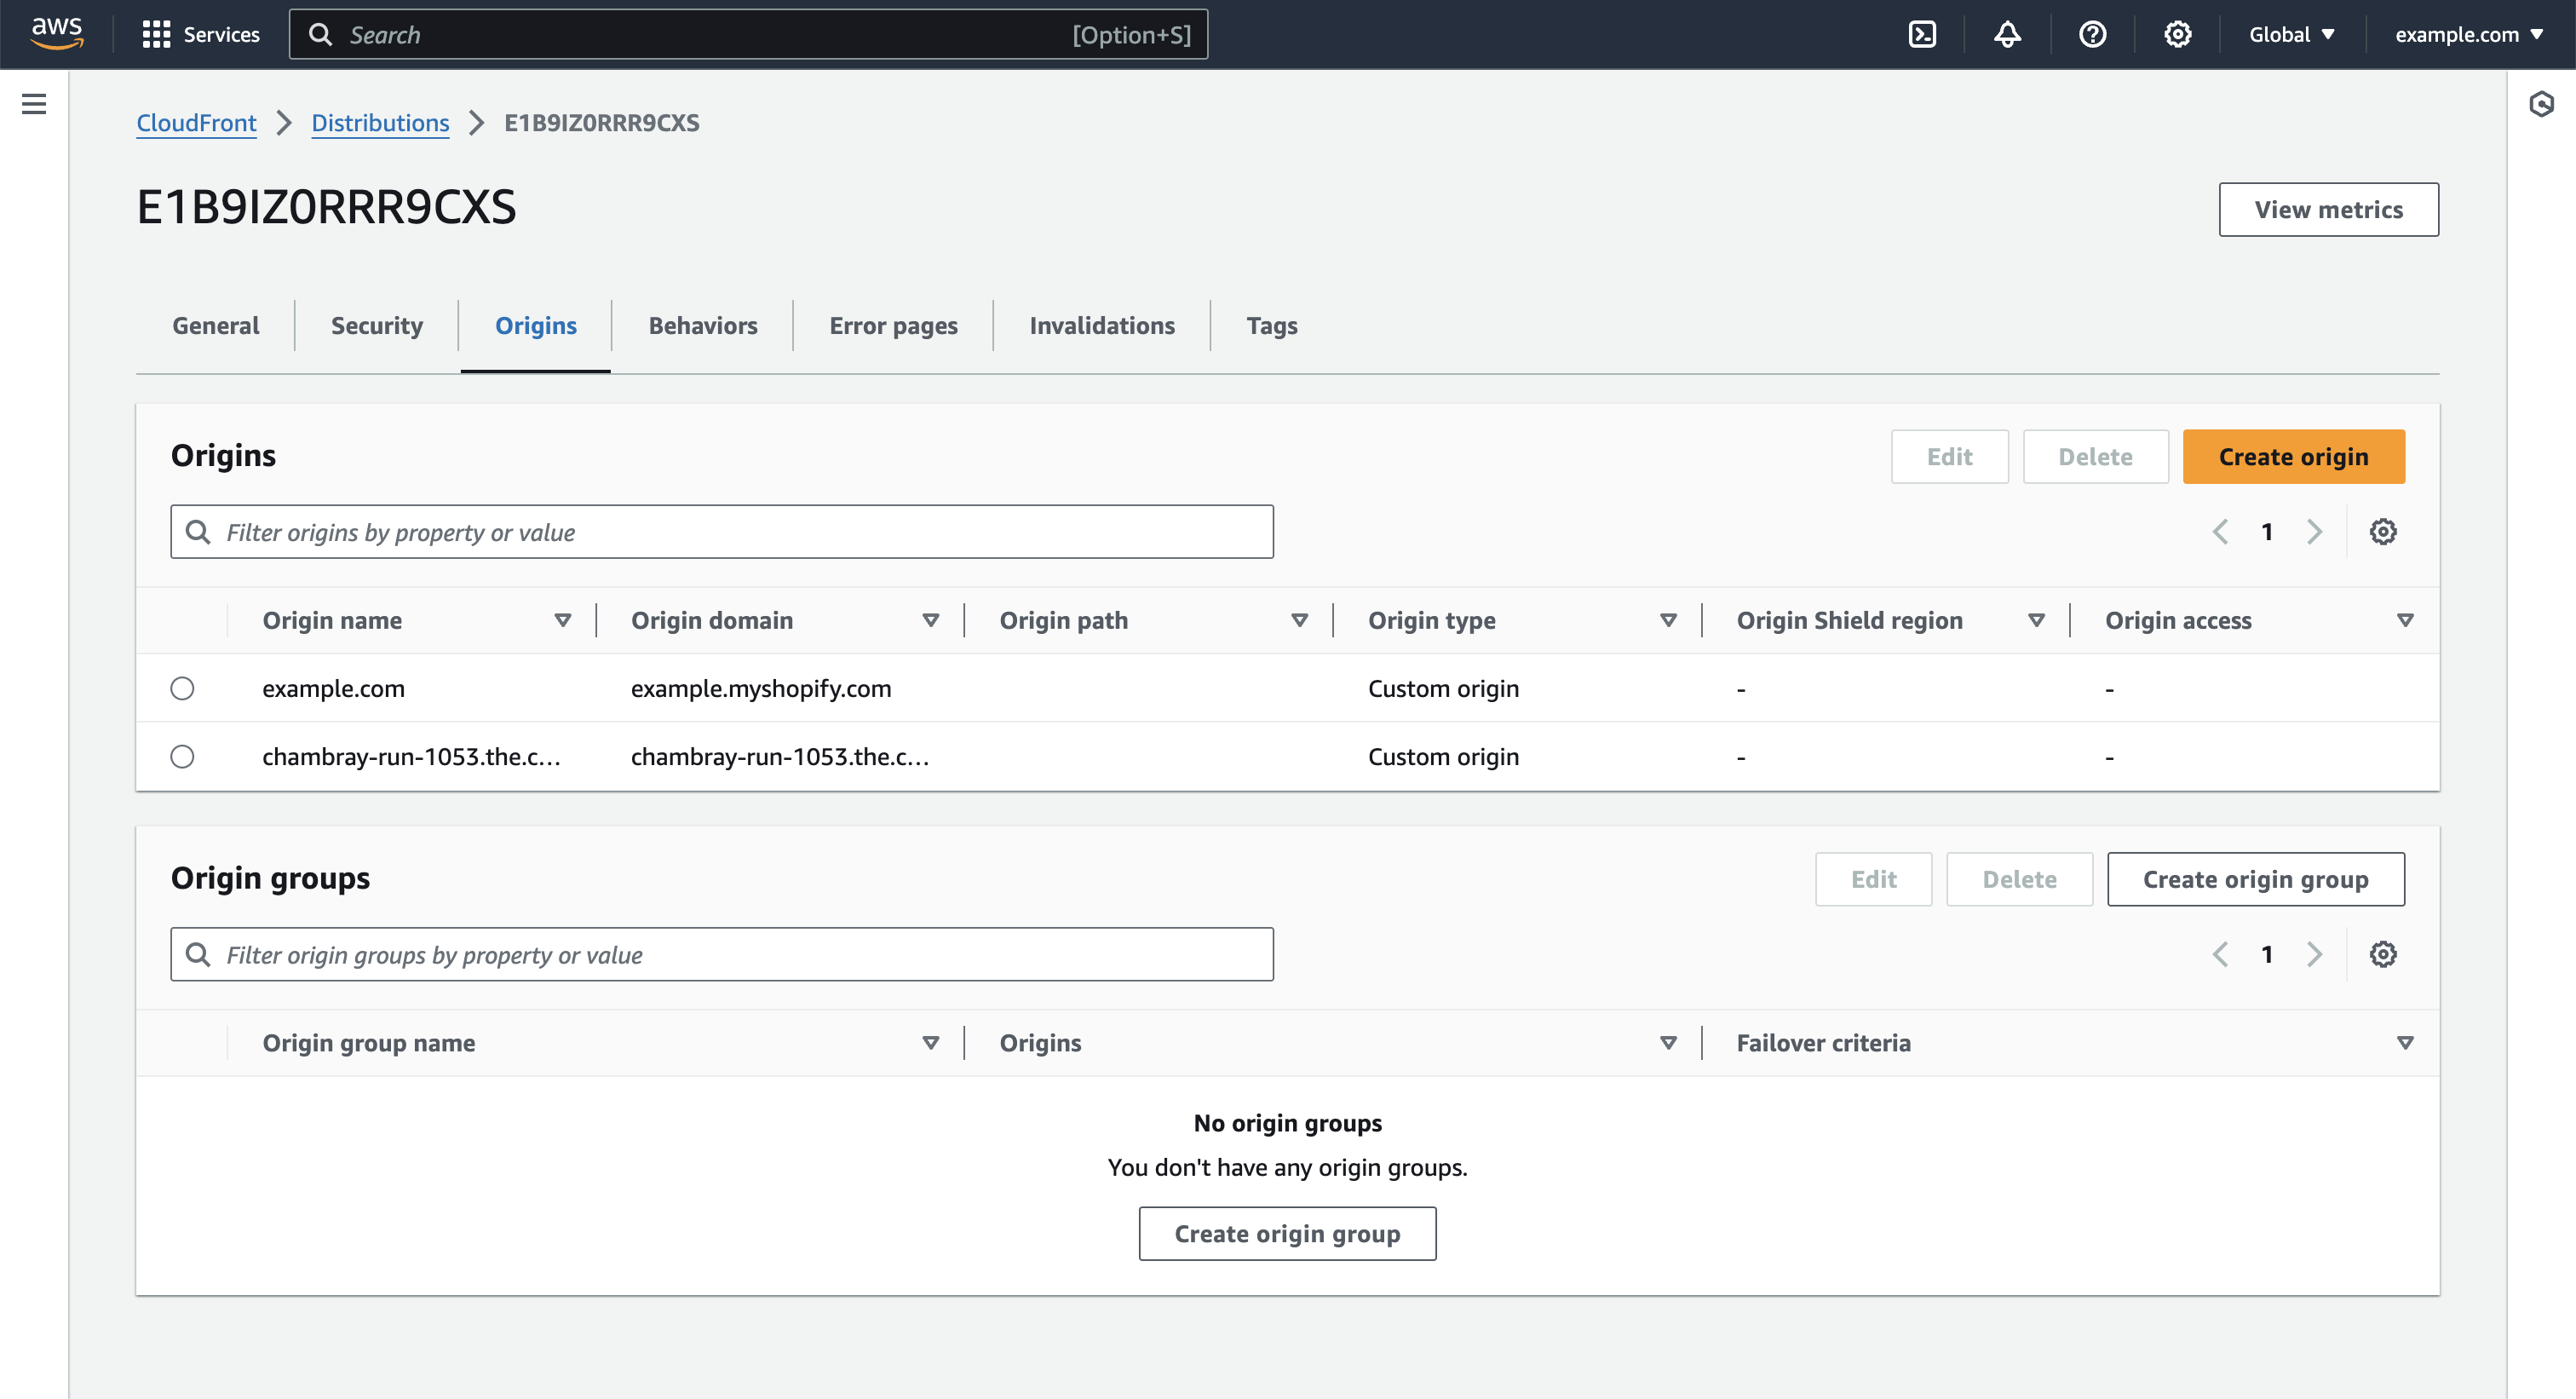
Add Two Origins
Inside your new Cloudfront distribution, go to the 'Origins' tab. Create two
origins:
1. Main CMS (e.g., "example.shopify.com"), naming it after your
main domain (e.g., "example.com").
2. For The.com, use your The.com URL
(e.g., "example-site-123.the.com") and name it The.com.
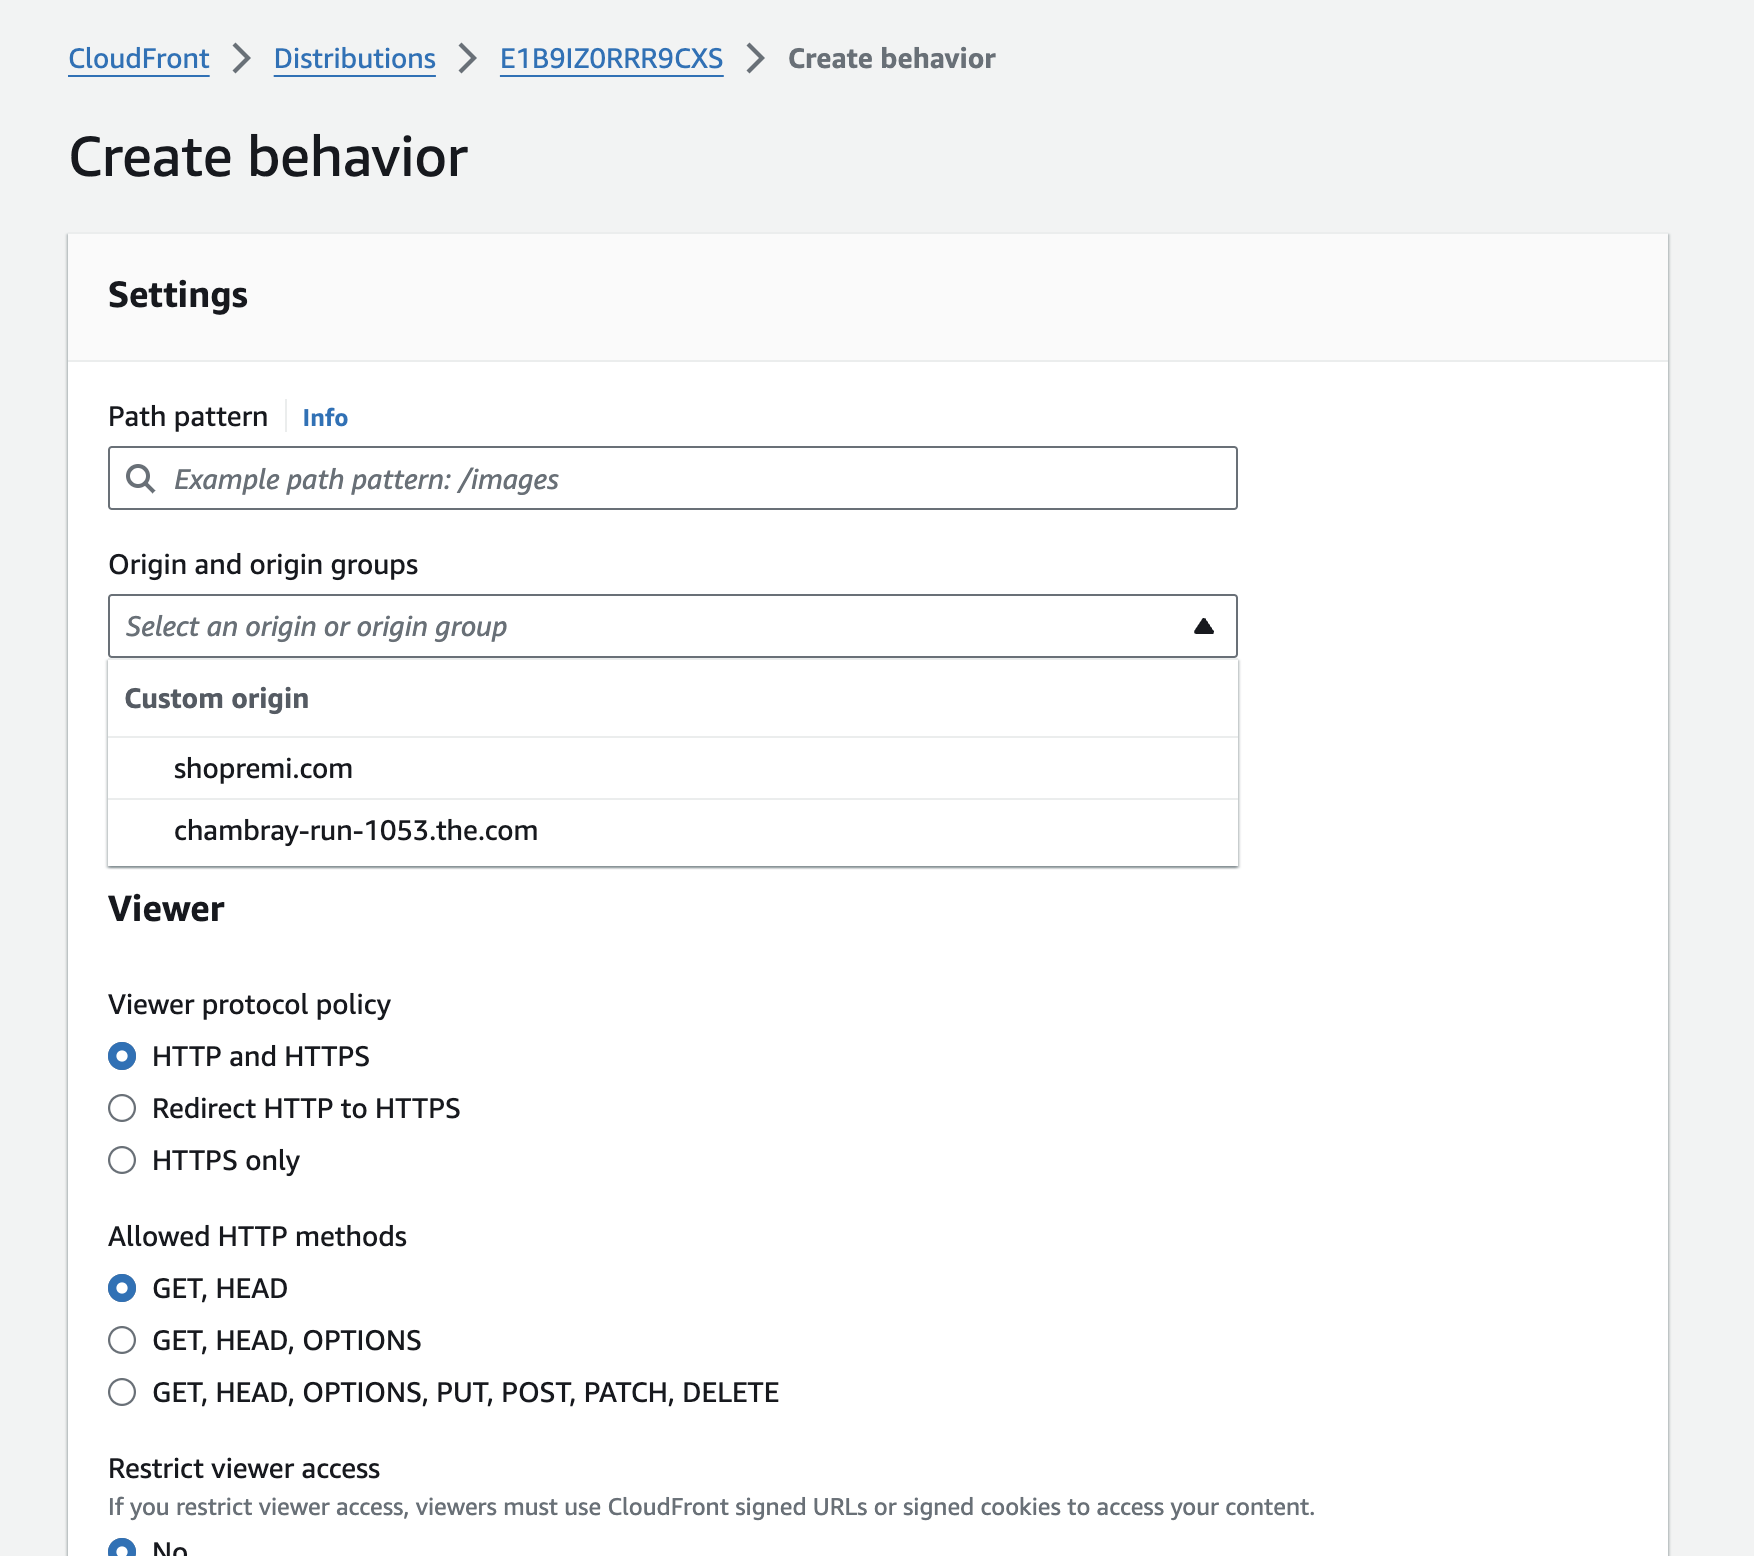
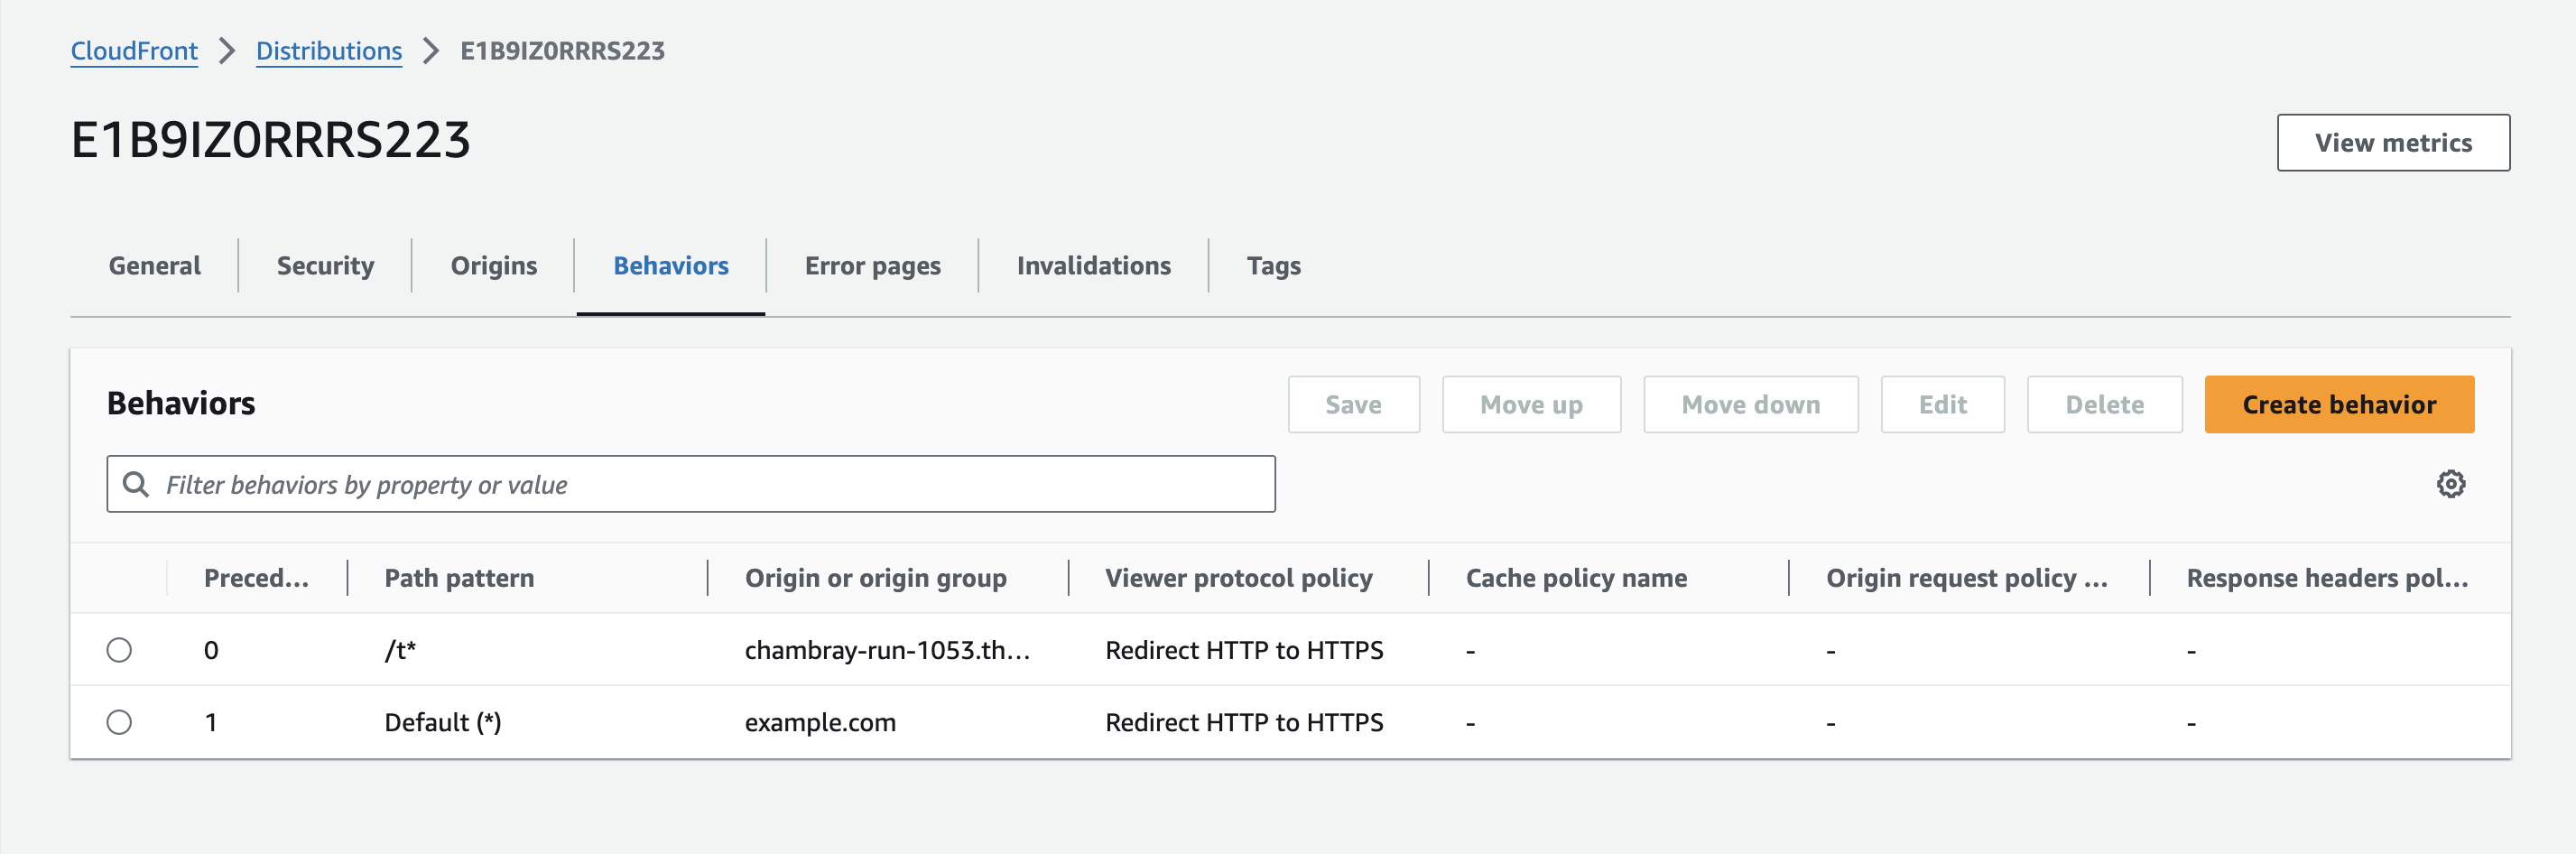
Add Two Behaviors
Create two behaviors to route the origins correctly:
- Set the 'Default
(*)' path pattern to point to your apex/root domain.
- Add a path
pattern for your subfolder (using /t/ in this example) and point it to the
The.com URL.
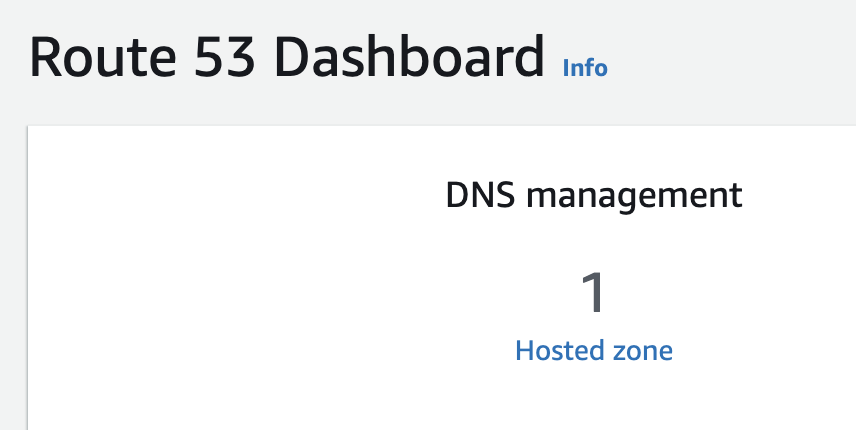
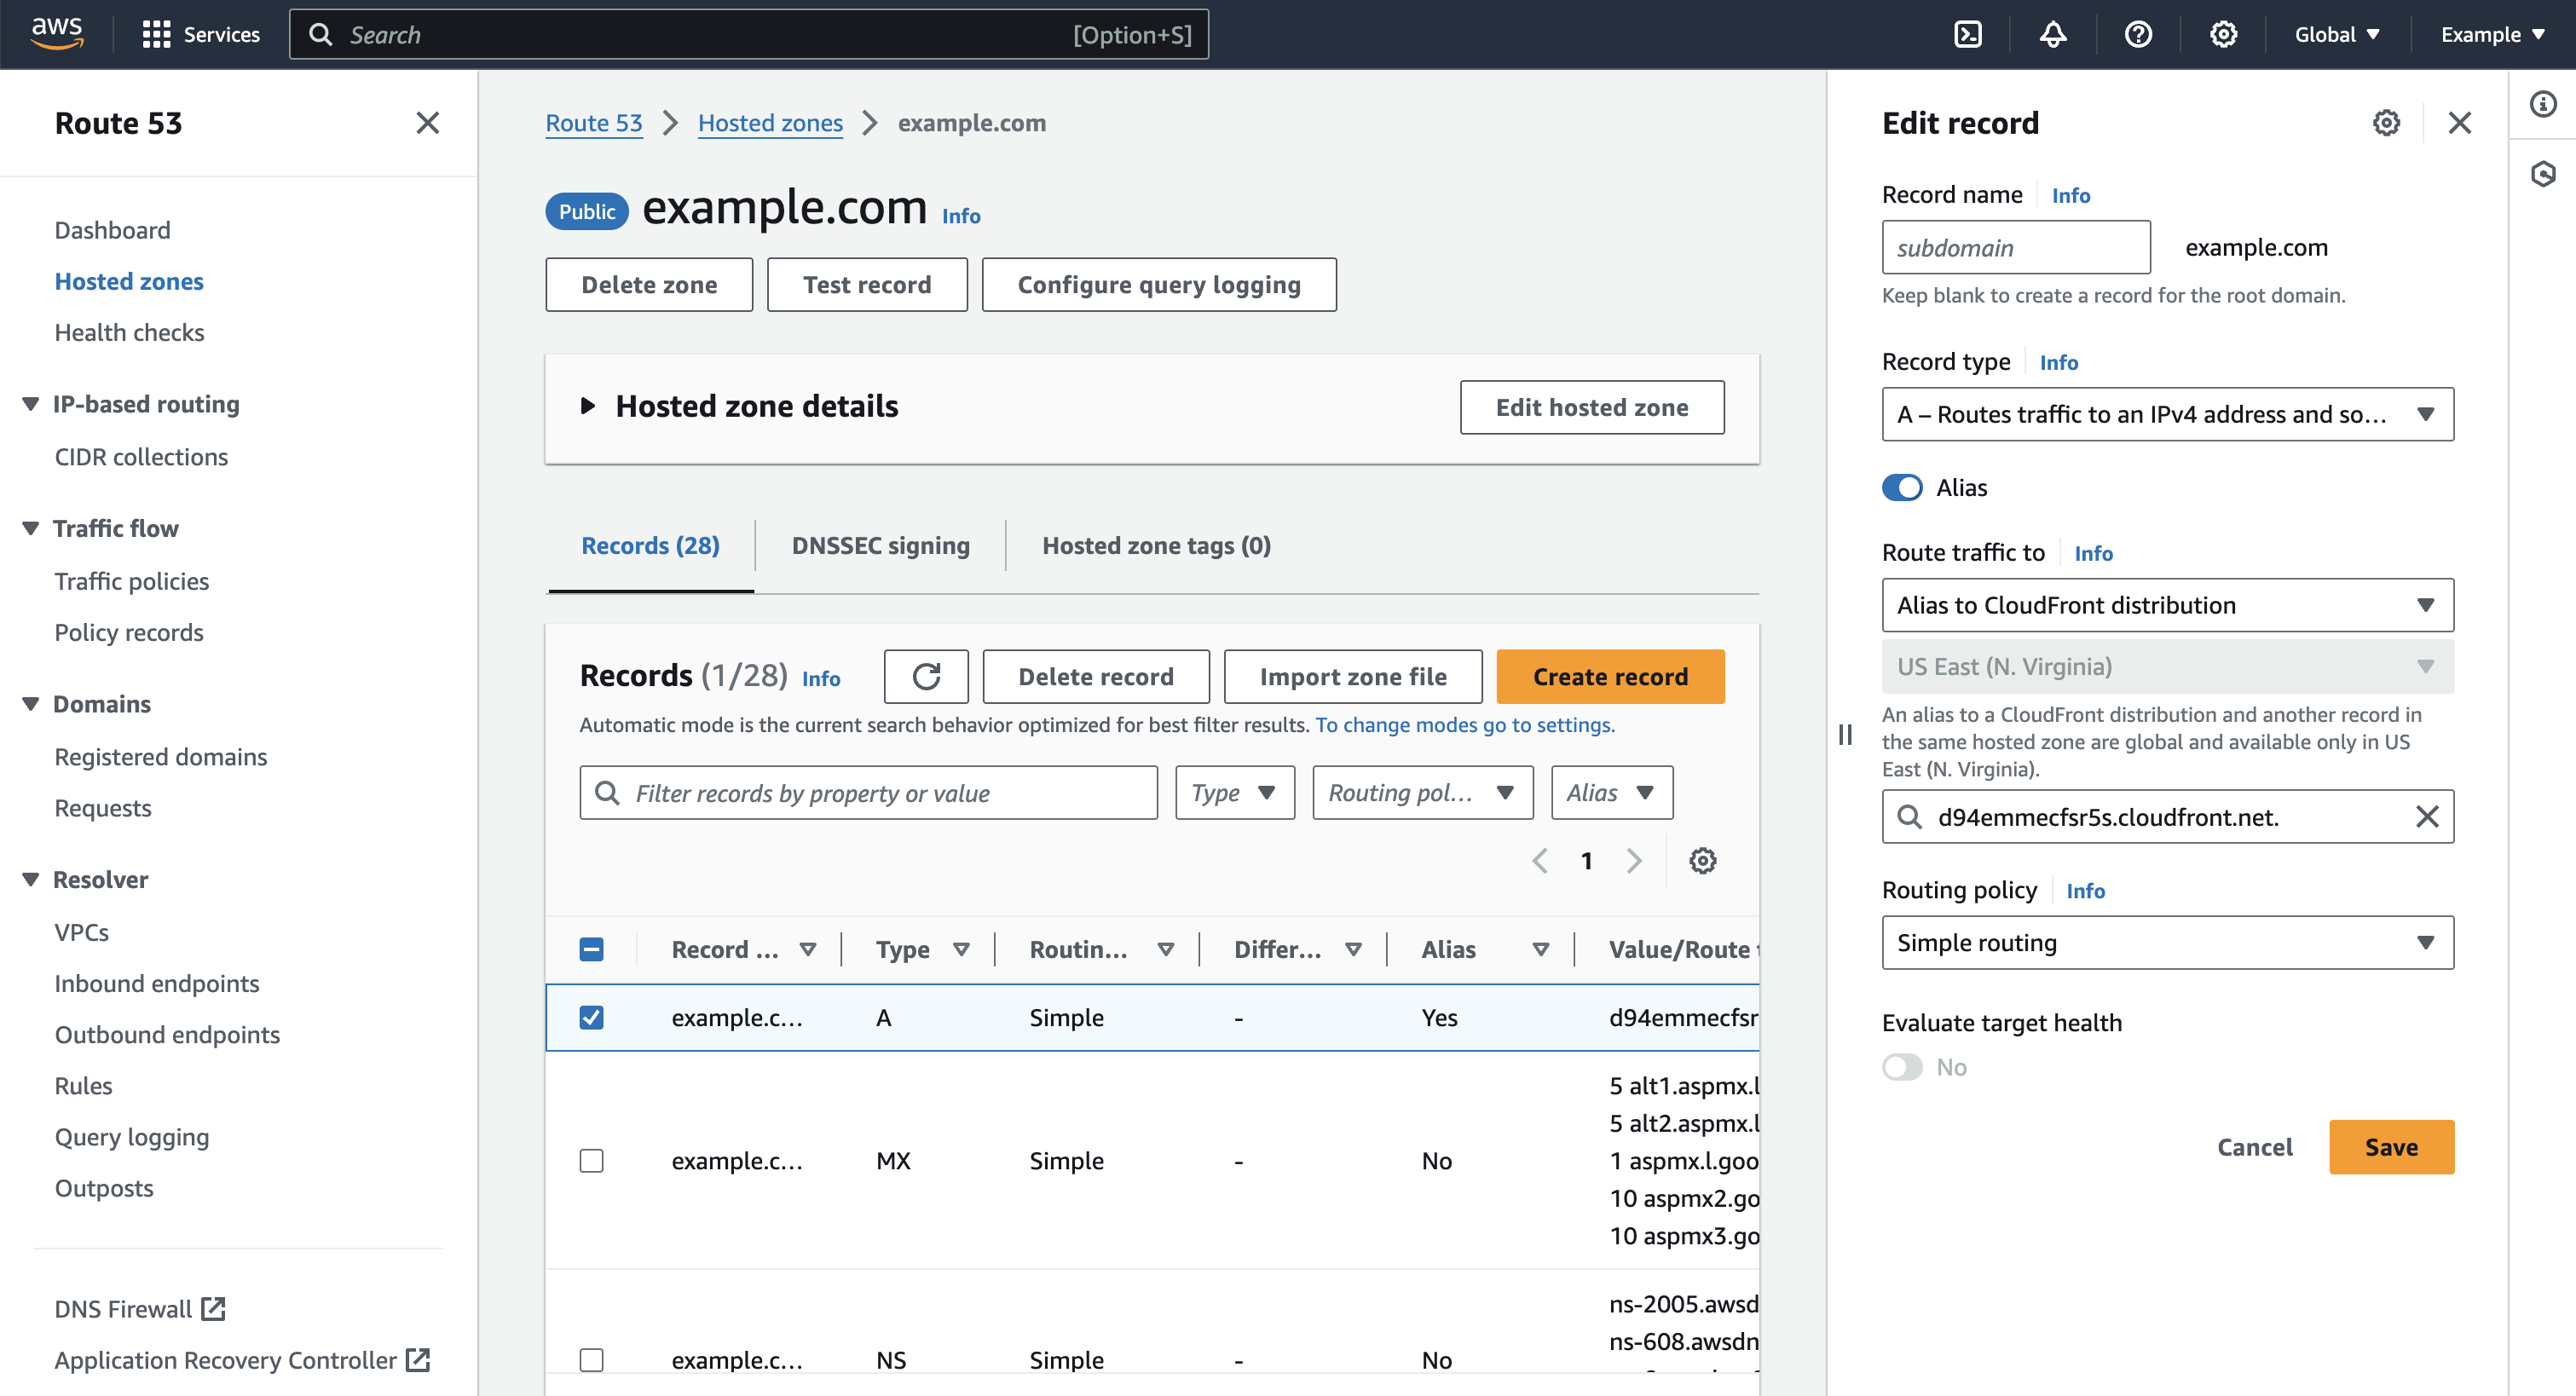
Update Route53 DNS Records
Return to Route53, find your apex/root domain (e.g., "example.com"), and edit its record. Select 'Alias' and then 'Route traffic to.' Choose 'Alias to Cloudfront Distribution' and select the distribution you created. Save the changes.
Test the Routes
First, visit your home page to ensure it is functioning correctly.
⚠️
If the home page isn't working, it might be due to DNS updates still
propagating or a configuration error. Wait up to 24 hours for updates. You
will receive an email from Cloudfront once your site is active.
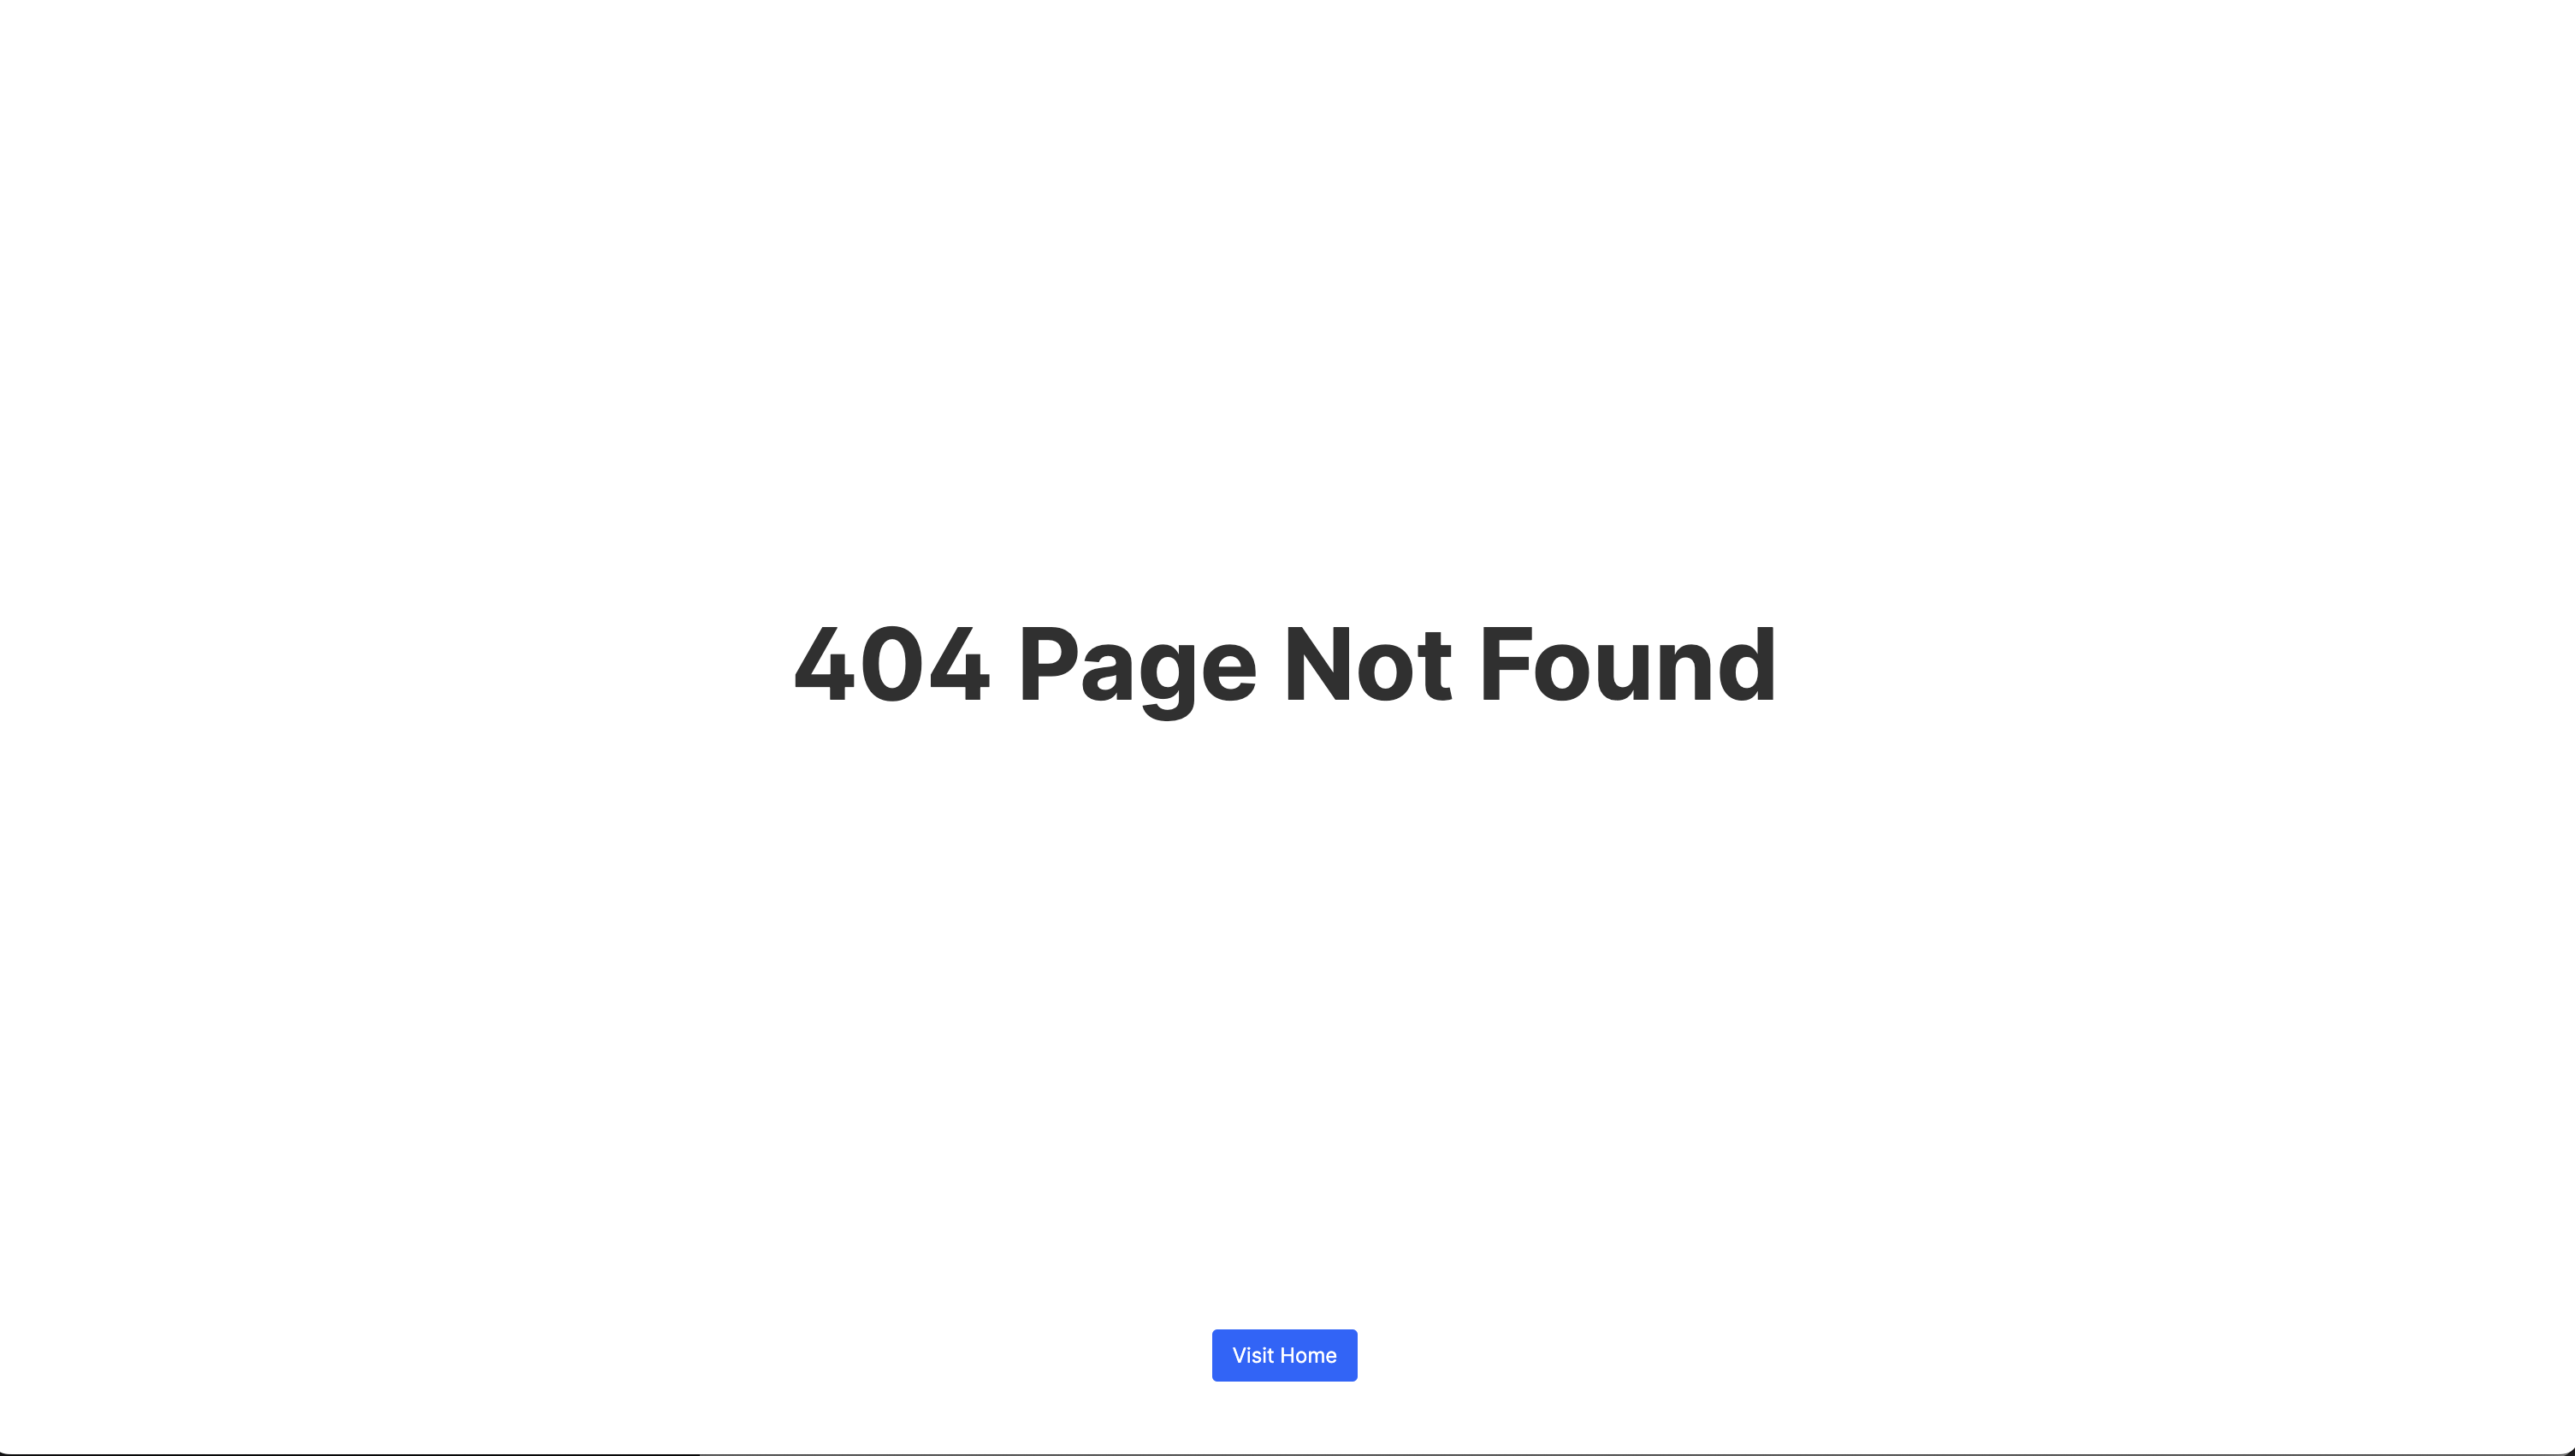
Next, navigate to example.com/t/. You should see the live page from The.com or a The.com 404 error page.
⚠️
If you encounter a 404 error, it indicates a successful connection to
The.com, but additional settings on The.com might need adjustment. In such
cases, contact your Account Manager or The.com support.